


This cushion was inspired by one I saw here.
The front is ever so simple to make. I cut the cream fabric out as a 21.5" sided square. I used thick curtain lining, I think: it's certainly considerably heavier than quilting cotton. Then I folded it corner-to-corner and finger-pressed along the diagonals; this helps to find the centre of the cushion. Don't iron these creases like I did, or you may never get them completely out again!
Cut 11.5" square piece of contrast fabric. I used pink raw silk (which might just be polyester masquerading as fancy silk). Place a 11" square piece of card in the centre of the fabric on the wrong side, and fold the edges around the card. This helps you get the 1/4 turn neat. See this tutorial (from Hyena in Petticoats) on how to deal with the corners in this method. (The tutorial is unrelated, but there is a step in there on folding around a 9" square in the manner I am suggesting.) You now have a neat 11" square.
Place your front-fabric right-side upwards on a flat surface, then place the contrast square right-side upwards on top. Use those diagonal creases to help align the 11" contrast square in the centre of your cushion front. Pin in place, then neatly top-stitch through all layers around the contrast square to attach it to the front. For this, I'd stitch around close to the edge in a matching thread using a short stitch-length. Then press the whole lot: it's your last chance to press the contrast fabric.
 |
| Securing the contrast fabric |
Next comes the button placement. I went for 100 buttons arranged in a 10x10 grid, spaced by 1". Buttons can be bought cheaply online by weight, so if you don't mind pot-luck then it's the way to go! Sometimes it looks like you get left-overs from clothing manufacturers. I used a combination of these, and buttons taken from my husband's shirts (not the ones still in his wardrobe, I hasten to add!). My average button diameter was 10mm.
I used my 11" card template and drew the 1" grid on it. (Note that the first and last rows/columns of buttons start 1/2" from the edge.) Next I transferred the markings to my cushion front. There are probably much better ways to do this, but I aligned the template on the cushion front then stuck pins through the template where each button would go. I then made a dot where the pin struck the fabric below using a dressmaker's pencil. The world of quilting might have better ideas: perhaps you can puncture the card template at each button position, align with the cushion front, then shake chalk-powder over the template such that it marks the fabric where the holes are.
Once the holes are marked, I tediously stitched each button on by machine. I tried to alternate the way I stitched the four-hole buttons from "x" to "+" across the cushion. To machine stitch the button, I set my machine to zig-zag with a stitch length of 0. I removed the very base of my presser-foot, leaving just the foot shank. I then lowered the shank so that it held the button down onto the fabric, and carefully stitched between two holes about 7 times. Next, I lifted the needle and presser-foot-shank, rotated the fabric, lowered the shank and stitched through the other two holes. After removing the work from the machine, I pulled all the threads through to the back of the work and tied them off before trimming them short.
 |
| Varying the stitch pattern between "+" and "x". |
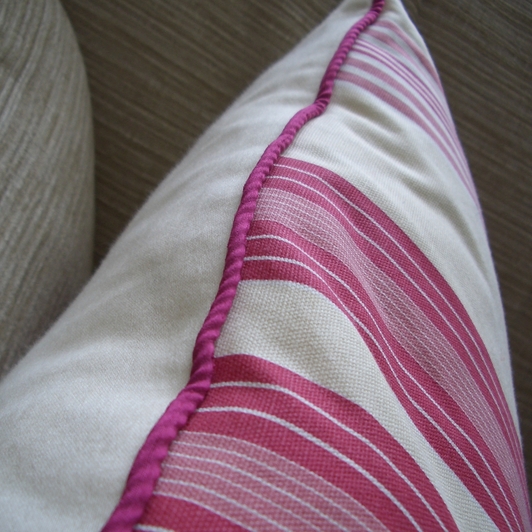 |
| Piping: oops! You can see the braid texture through my flimsy fabric choice! |
 |
| Button back |
The back of the cushion is a button-back (see here) made with upholstery weight stripy fabric. I also used some piping I made myself using the same pink silk-stuff as the front. I like piping, even though my sewing machine is very bad at attaching it - I need to do a post about my work-around for that.
This post is part of a series:

"Bravo! Your blog is a testament to the fact that quality content stands the test of time. Your evergreen posts continue to be a valuable resource for anyone seeking insights into [your niche]. Your impact is lasting and appreciated!"
ReplyDeletehttps://www.tryvoucher.com/kfc-student-discount